How Docker Images Work: Union File Systems for Dummies

A lot of things about Docker are mysterious. Even with an inside view Docker internals are foreign. We take for granted the systems that were built before, not intentionally, but in order to promote progress. However I decided enough was enough and I was going to learn about this technology that I help release almost every single day.
The first thing that jumped out to me was the idea of the Union File System that enables Docker’s efficient storage of image layers. This post is basically my interpretation of what these concepts are and hopefully a simpler explanation since the ones that I read were a little bit over my head.
WTF is a Union File System?
From wikipedia:
Unionfs is a filesystem service for Linux, FreeBSD and NetBSD which implements
a union mount for other file systems. It allows files and directories of
separate file systems, known as branches, to be transparently overlaid,
forming a single coherent file system. Contents of directories which have the
same path within the merged branches will be seen together in a single merged
directory, within the new, virtual filesystem.
For people who aren’t so great with words, Union File Systems basically allow you to take different file systems and create a union of their contents with the top most layer superseding any similar files found in the file systems.
For this blog post I’m going to be focusing on the overlay(fs) since it’s
the recommended storage driver currently for Docker (as of 18.06.0-ce).
So How Does it Work?
WARNING: Probably a poor comparison in plain English
So imagine you’re in grade school again and the teacher pulls out the overhead projector again. If you’re not familiar with what an overhead projector looks like, consult this image from wikipedia:
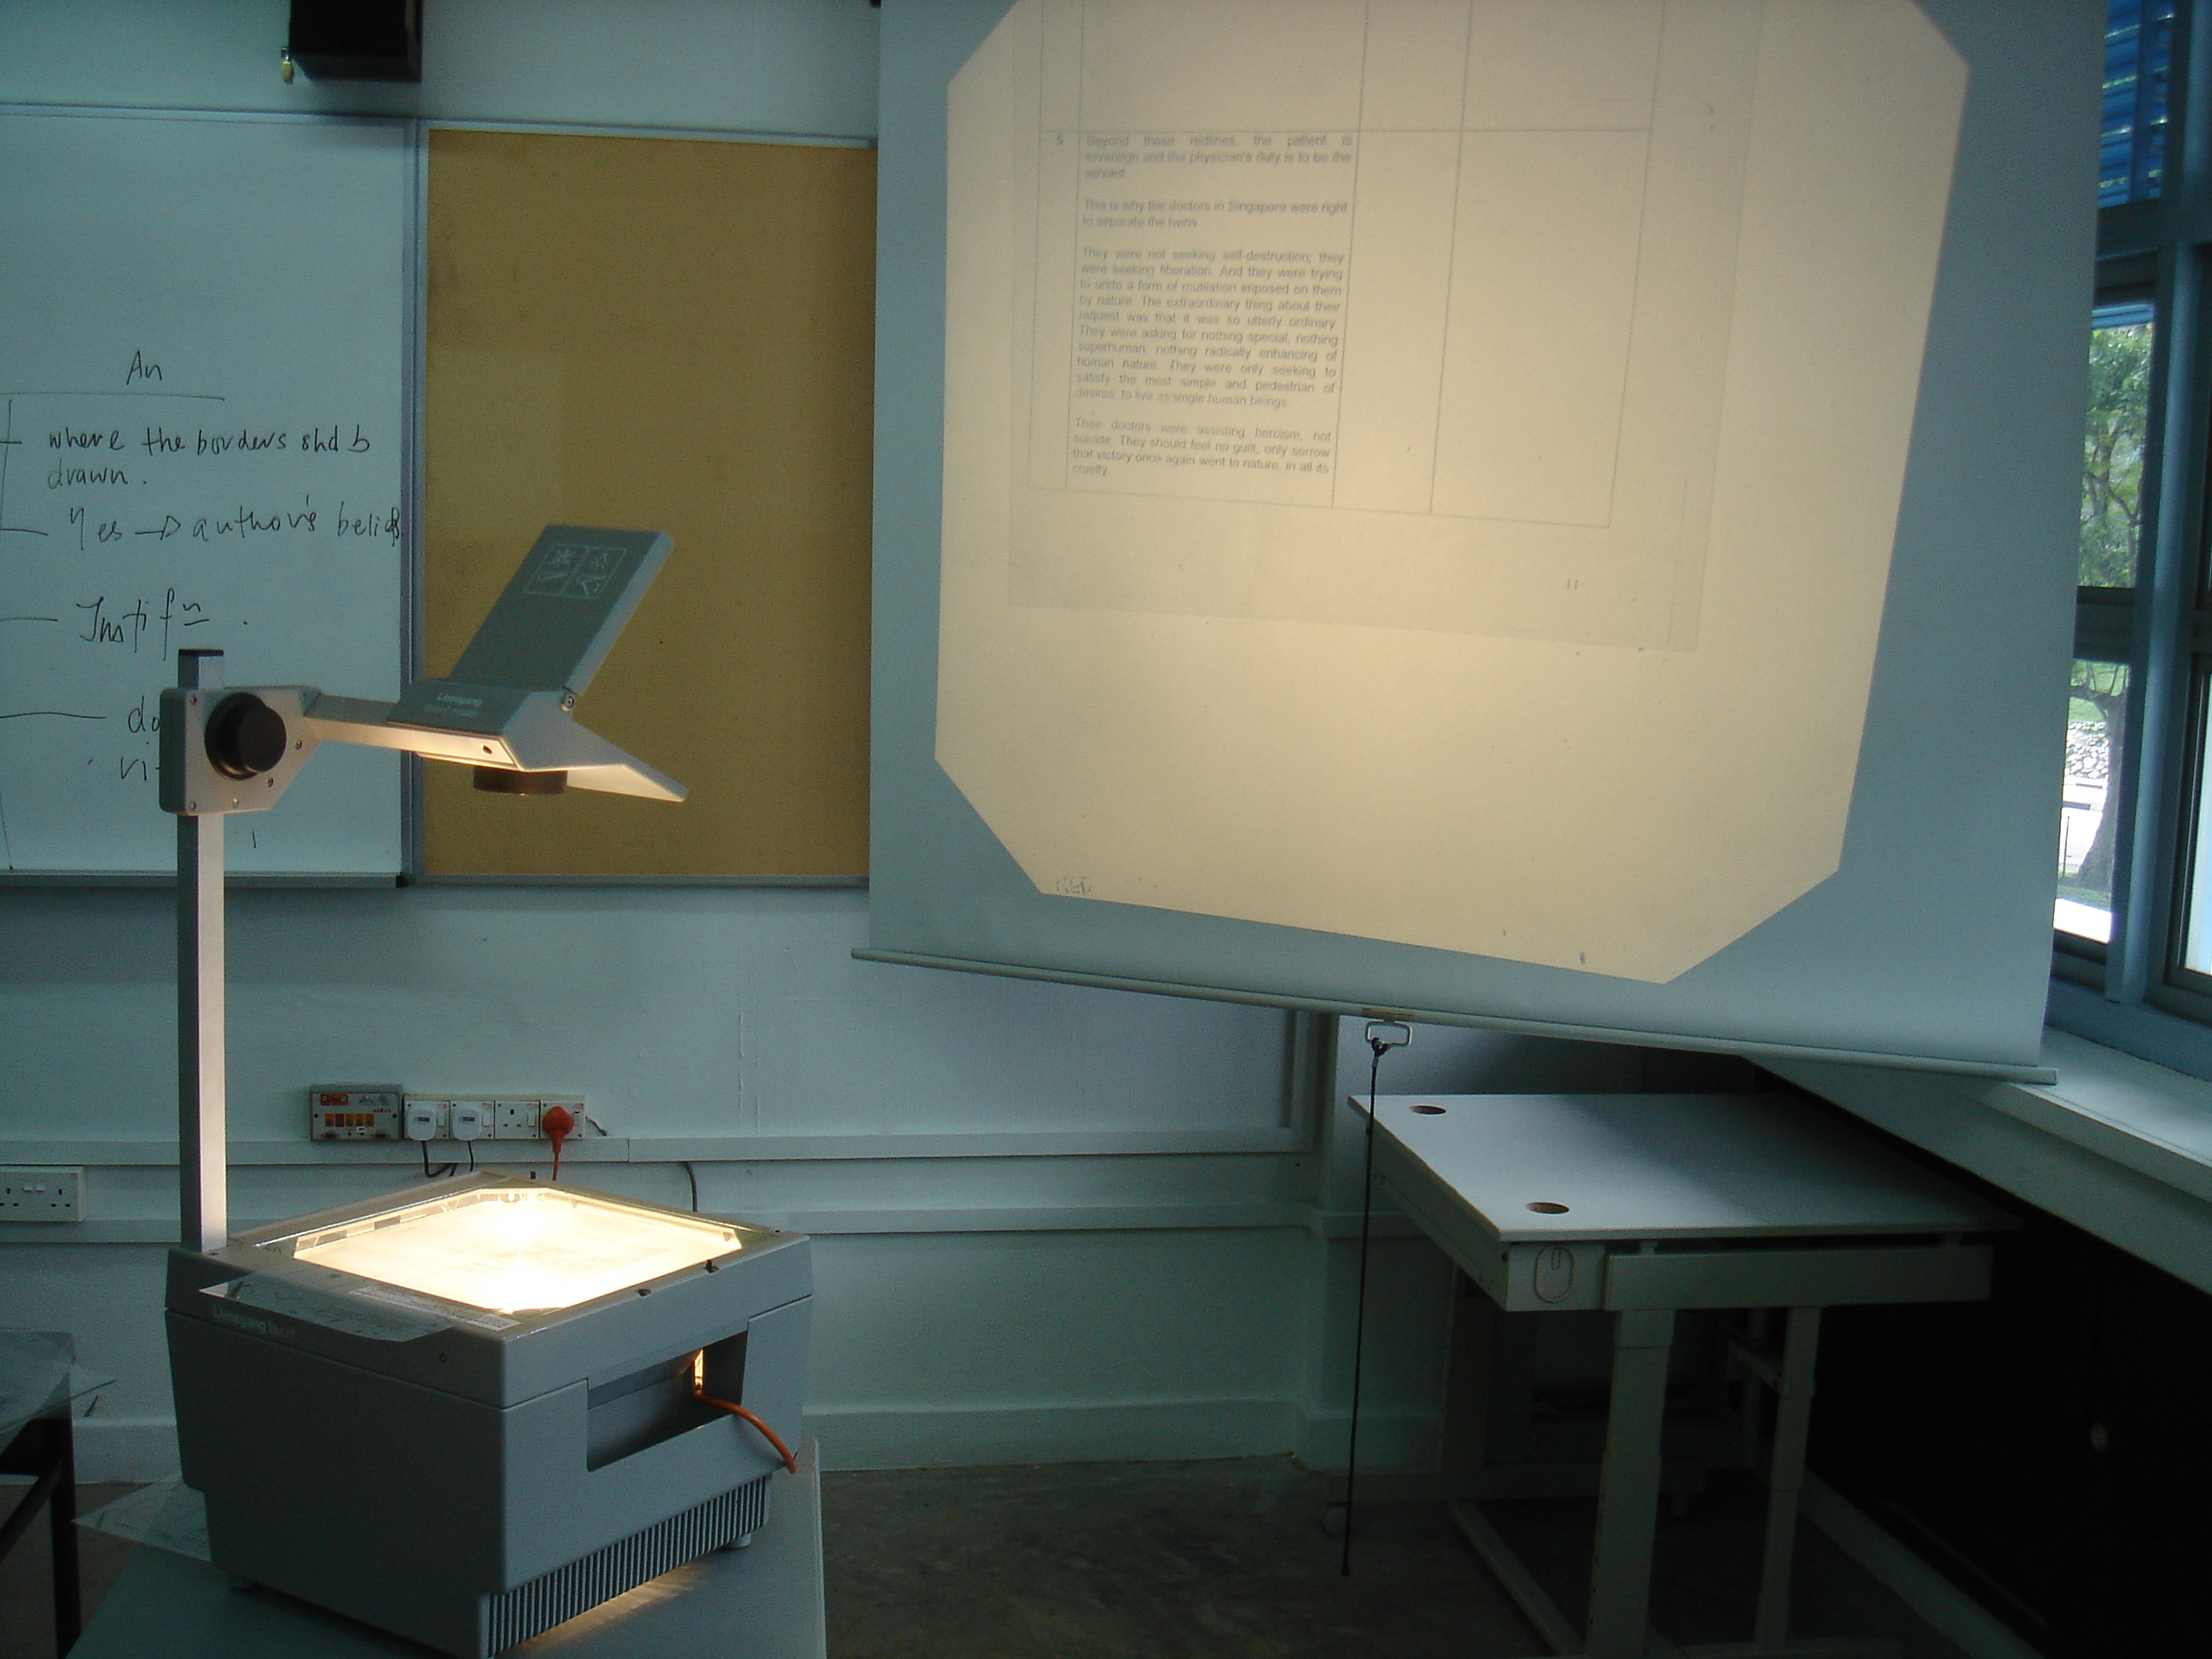
So an overlay(fs) works very similarly to overhead projection sheets where you have a base sheet that displays something like a worksheet and a sheet above it where you can take your own notes. You can separate the two sheets and you still have your base sheet and your own notes (the difference between the base and your notes).
So How Does it Work? (From a technical perspective)
Layers Involved
So basically with the overlay(fs), and more specifically the overlay2
storage driver, 4 directories must exist beforehand:
- Base Layer (Read Only)
- Overlay Layer (Main User View)
- Diff Layer
Base Layer
This is where the base files for your file system are stored, this layer ( from the overlay view) is read only. If you want to think about this in terms of Docker images you can think of this layer as your base image.
Overlay Layer
The Overlay layer is where the user operates, it initially offers a view of the base layer and gives the user the ability to interact with files and even “write” to them! When you write to this layer changes are stored in our next layer.
When changes are made this layer will offer a union view of the Base and Diff layer with the Diff layer’s files superseding the Base layer’s.
Again if you want to think about this in terms of Docker images you can think of this layer as the layer you see whenever you run a container.
Disclaimer: I know some people are groaning right now because I’m over-simplifying the last statement but please bear with me.
Diff Layer
Any changes made in the Overlay Layer are automatically stored in this layer.
So right now you’re probably thinking, but what if you made changes to something that’s already found in the base layer? Well worry not some smart person a while ago thought about this as well!
Whenever you write to something that’s already found in the base layer the
overlay(fs) will copy the file over to the Diff Layer and then make the
modifcations you just tried to write. This type of operation is known as a
copy-on-write operation and is probably the most important part of making a
Union File System function correctly.
Maybe an image would help?

In the above image the right pane is the view of the overlayed file layers with the top right being the base layer and the bottom right being the diff layer.
As you can see foundation/file1 exists in both the base and diff layer but
the diff layer’s file is used instead as it is the higher layer.
I also created another file named fruit/pear and we can see that it only
exists in the diff layer.
Can I try this on my own?
Yup! Setting up an overlay(fs) is actually really easy!
First in any directory create your layers like so:
mkdir base diff overlay workdir
You should probably add some files in the base directory, just for the example:
echo "this is my base layer" > base/file1
Next mount those directories:
sudo mount \
    -t overlay \
    -o lowerdir=base,upperdir=diff,workdir=workdir \
    overlay \
    overlay
And Bam! You have an overlay(fs) in the overlay directory!
Do a cd overlay and start adding files at will and see them
start popping up in your diff directory!
When you’re done, you can get rid of the overlay(fs) by cd‘ing out of
the overlay directory and running:
sudo umount overlay
So how does this relate back to Docker Images?
Docker implements the overlay2 storage driver in a file called: daemon/graphdriver/overlay2/overlay.go
Just highlighting some lines in that file from line 580-621
    opts := fmt.Sprintf("lowerdir=%s,upperdir=%s,workdir=%s", strings.Join(absLowers, ":"), path.Join(dir, "diff"), path.Join(dir, "work"))
    mountData := label.FormatMountLabel(opts, mountLabel)
    mount := unix.Mount
    mountTarget := mergedDir

    ...


    if err := mount("overlay", mountTarget, "overlay", 0, mountData); err != nil {
The implementation is basically what we did by hand above except with a few extra things like handling multiple base layers and handling directory permissions!
So Docker Images are actually just multiple Union File Systems stacked on top of each other!

For a more in depth view you can consult the official Docker docs!
Conclusion
So that wasn’t so bad was it? A lot of the magical things that make up our everyday tools are just basic tools that are stringed together to make our lives more convenient! So if you have anything that seems a bit out of your grasp just take a bit of a deeper look and you’ll be surprised at what you find.
Have any questions? ping me over at @_seemethere


